Bring Out the Beauty: DIY Sanding Techniques for Wooden Furniture
Chosen theme: DIY Sanding Techniques for Wooden Furniture. Welcome to a hands-on guide that turns scuffed chairs, tired tables, and heirloom dressers into touchably smooth showpieces. We’ll explore smart grit progressions, tool choices, and feel-first methods that make wood glow. Share your sanding wins and questions in the comments, and subscribe for weekly shop wisdom you can put to work today.
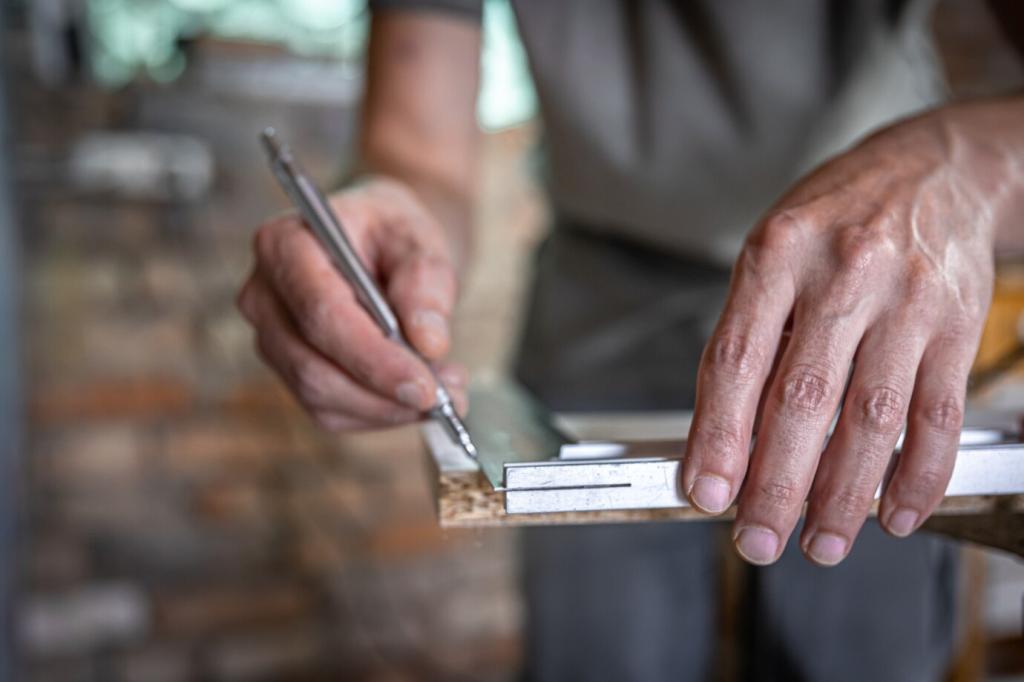
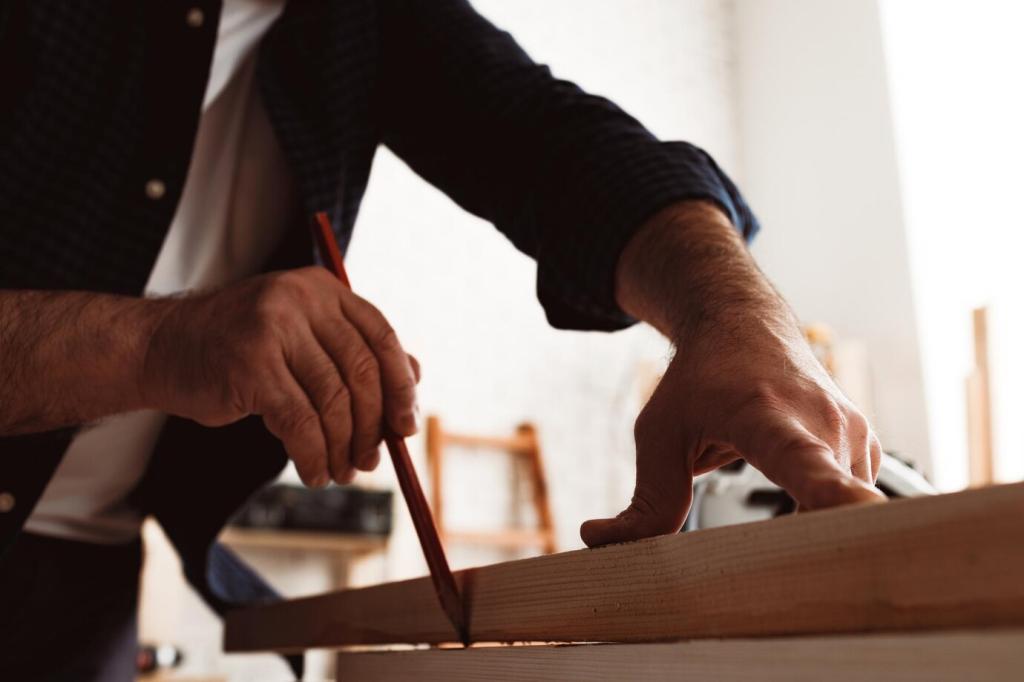
Light That Shows the Truth
Angle a bright, raking light across the surface so scratches and low spots jump into view. Use a soft pencil to scribble guide marks before each grit. Erasing them evenly confirms you are sanding flat and consistently.
Dust Control That Keeps You Breathing Easy
Pair your sander with a HEPA shop vacuum and use a dust mask or, better, a respirator rated for fine particulates. Fewer airborne particles mean cleaner finishes, less cleanup, and healthier lungs for many projects to come.
Clamp, Pad, and Protect
Secure workpieces with clamps and protect delicate edges with cork or leather pads. Stable furniture parts prevent chatter and gouges, letting the abrasive do the work. Tell us your favorite clamping tricks and subscribe for more setup tips.
Grit Progression That Works Every Time
When you need to remove old finish or flatten cup and twist, 60–80 grit is your friend. Stop as soon as the defects disappear; lingering too long deepens scratches you will later chase. Share photos of your toughest rescues.
Grit Progression That Works Every Time
This stage replaces deep scratches with shallower ones while dialing in flatness. Sand with the grain, vacuum between grits, and re-mark with pencil lines. Patience here saves time later and prevents those sneaky scratch ghosts.
Hand vs. Power: Choose the Right Approach
01
Random Orbital Basics for Flat Fields
Keep the pad flat, apply only gentle pressure, and let the sander’s orbit do the cutting. Move slowly, overlapping passes, and pause to vacuum. This avoids swirls and heat that melts resin, clogs paper, and mars the wood.
02
Hand Sanding: Feel the Grain
A cork or rubber sanding block follows surfaces while your fingertips detect highs and scratches. Always sand with the grain. My grandfather taught me to close my eyes and sweep the board; fingertips never lie about smoothness.
03
Detail Work: Edges, Spindles, and Curves
Foam-backed abrasives, flexible sanding pads, and sanding cords reach into profiles and tight radii. Rotate the piece as you work to keep cuts even. Post your trickiest curves, and subscribe for next week’s profile-sanding deep dive.
Use a pencil grid, then sand in overlapping lanes. Cross-hatch lightly with coarse grit to level, finish with the grain at finer grits. Vacuum often, and check under raking light to confirm scratches are truly gone.
Break sharp edges with a single gentle pass to resist chipping, but avoid over-rounding. Wrap paper around a block to keep geometry true. Share your edge preferences—crisp modern line or vintage softened comfort?
Use folded paper tips, abrasive cords, or small scrapers to reach into crevices. Support delicate details with your fingers and keep strokes light. A soft brush clears dust so you can see what the carving wants to reveal.
Wood Behavior: Grain, Moisture, and Species
Lightly dampen the surface to raise fibers, then sand again with your final grit. This preemptively smooths fuzz that water-based finishes emphasize. It is a tiny step that delivers a noticeably silkier touch under the hand.
Wood Behavior: Grain, Moisture, and Species
Pine and cedar dish quickly under pressure, so use fresh paper and a lighter touch. Oak and maple tolerate more, but still demand even strokes. Tell us which species challenge you most, and we will share tailored tips.
Troubleshooting: Fixing Scratches, Swirls, and Blotches
Mark the area with pencil, drop one grit, and sand strictly with the grain until all cross-lines disappear. Vacuum, re-mark, and return to your progression. Comment if you want a printable checklist for quick recoveries.
Let the sander reach full speed before touching down, keep it moving slowly, and vacuum between grits. Replace clogged discs early. A brief hand-sand with the grain at final grit erases the last whisper of swirls.
If areas took stain unevenly, you may have over-sanded or compressed the fibers. Sand back lightly, apply a pre-stain conditioner, and retest. Share your before-and-after photos to help others avoid the same surprise.
After the Sand: Clean, Inspect, and Test
Dust Removal That Actually Works
Vacuum thoroughly, brush fibers from pores, then wipe with a slightly damp microfiber or a lint-free cloth. Avoid overusing tack cloth with water-based finishes. Clean wood looks dull but feels uniformly silky under your hand.
Edge and Corner Check
Run a fingertip along edges to confirm a tiny, consistent break. This prevents finish from pulling back and guards against splinters. Share whether you prefer a pronounced chamfer or a whisper-soft eased edge on chair rails.
Test Boards and Sunlight Reveal
Keep a scrap from the same project, sand it identically, and apply your finish schedule first. Inspect under sunlight or a strong raking lamp. Subscribe for our upcoming guide to pairing sanding grits with specific finishes.