Restoring Antique Wooden Furniture with DIY Methods: Bring History Back to Life
Chosen theme: Restoring Antique Wooden Furniture with DIY Methods. Discover friendly, practical guidance for reviving heirlooms without erasing their stories. Learn gentle techniques, safe materials, and historically mindful approaches—then share your progress, subscribe for fresh tips, and join a community that celebrates character and craftsmanship.
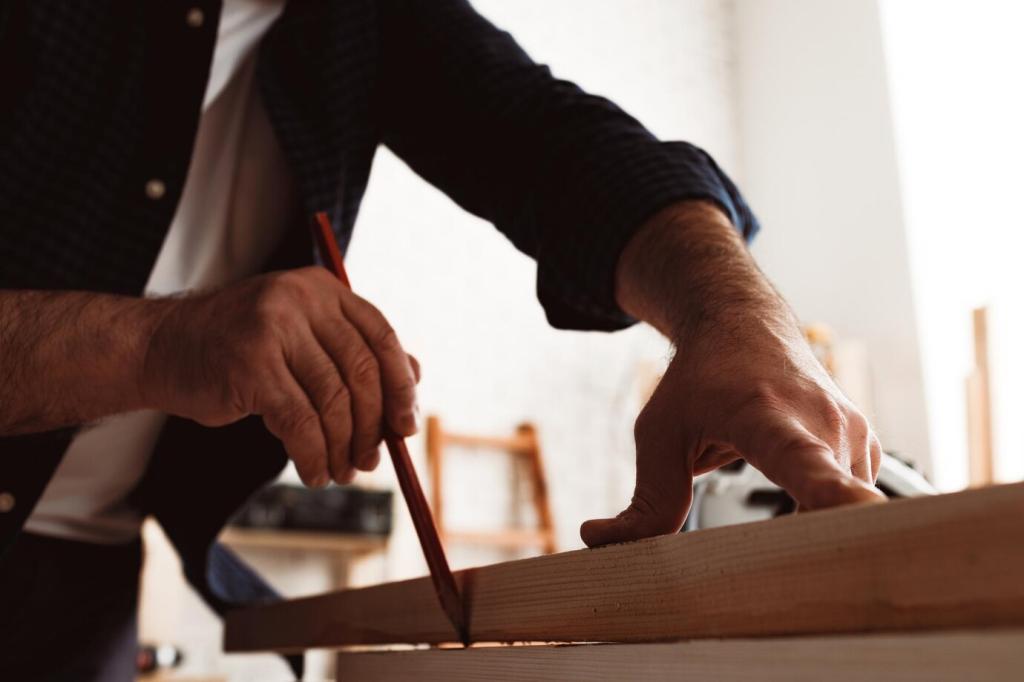
Know Your Wood and Era
Oak’s ray fleck, walnut’s chocolate warmth, and mahogany’s ribbon stripe reveal species, while oxidized end grain, hand-planed ripples, and tool marks whisper age. Notice weight, smell, and pore structure. Tell us which clues you’ve spotted on your piece today.
Use a soft boar-bristle brush and a microfiber cloth to lift dirt. Mix distilled water with pH-neutral soap, wring thoroughly, and clean in small sections. Cotton swabs help carved details. Test a hidden spot first, then air-dry. Share your favorite gentle cleaning tips with our DIY community.
Solvents That Respect Old Finishes
Mineral spirits can lift greasy wax and reveal the finish beneath; denatured alcohol tests shellac’s solubility. Work in ventilation with nitrile gloves and lint-free cloths. A conservation-grade cleaner helps on stubborn grime. I once uncovered quartersawn oak rays beneath tobacco film—tell us your best reveal moment.
Feeding Dry Wood Without Drowning It
Apply microcrystalline wax or polymerized linseed oil in whisper-thin coats, allowing full absorption before a gentle buff along the grain. Avoid silicone polishes that complicate future repairs. Keep a seasonal care routine. Post your before-and-after photos, and let’s discuss sheen, depth, and maintenance intervals together.
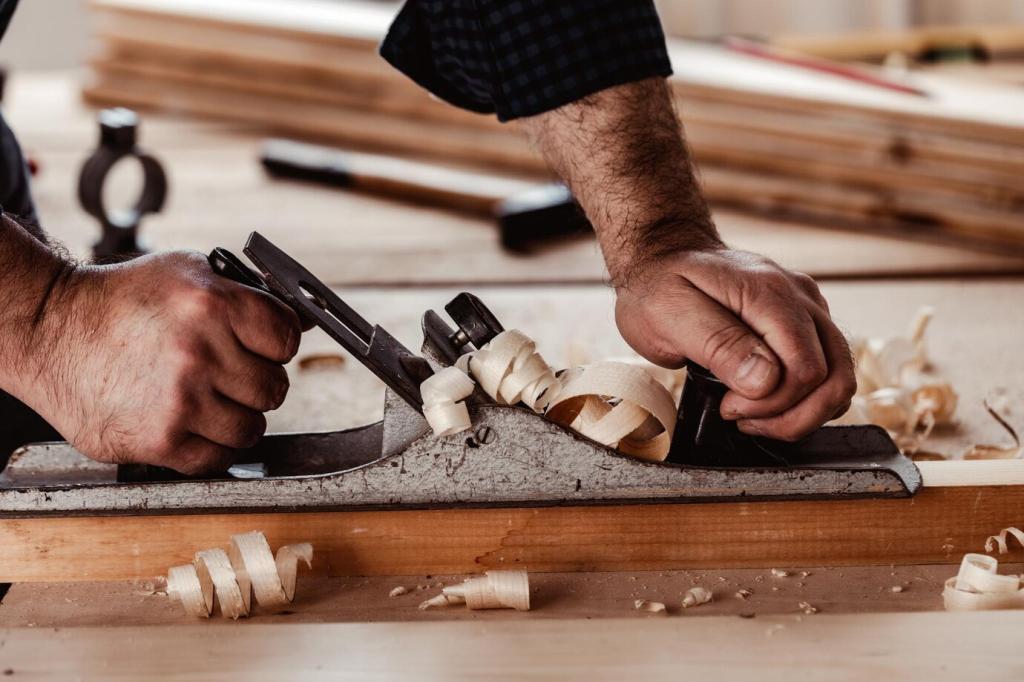
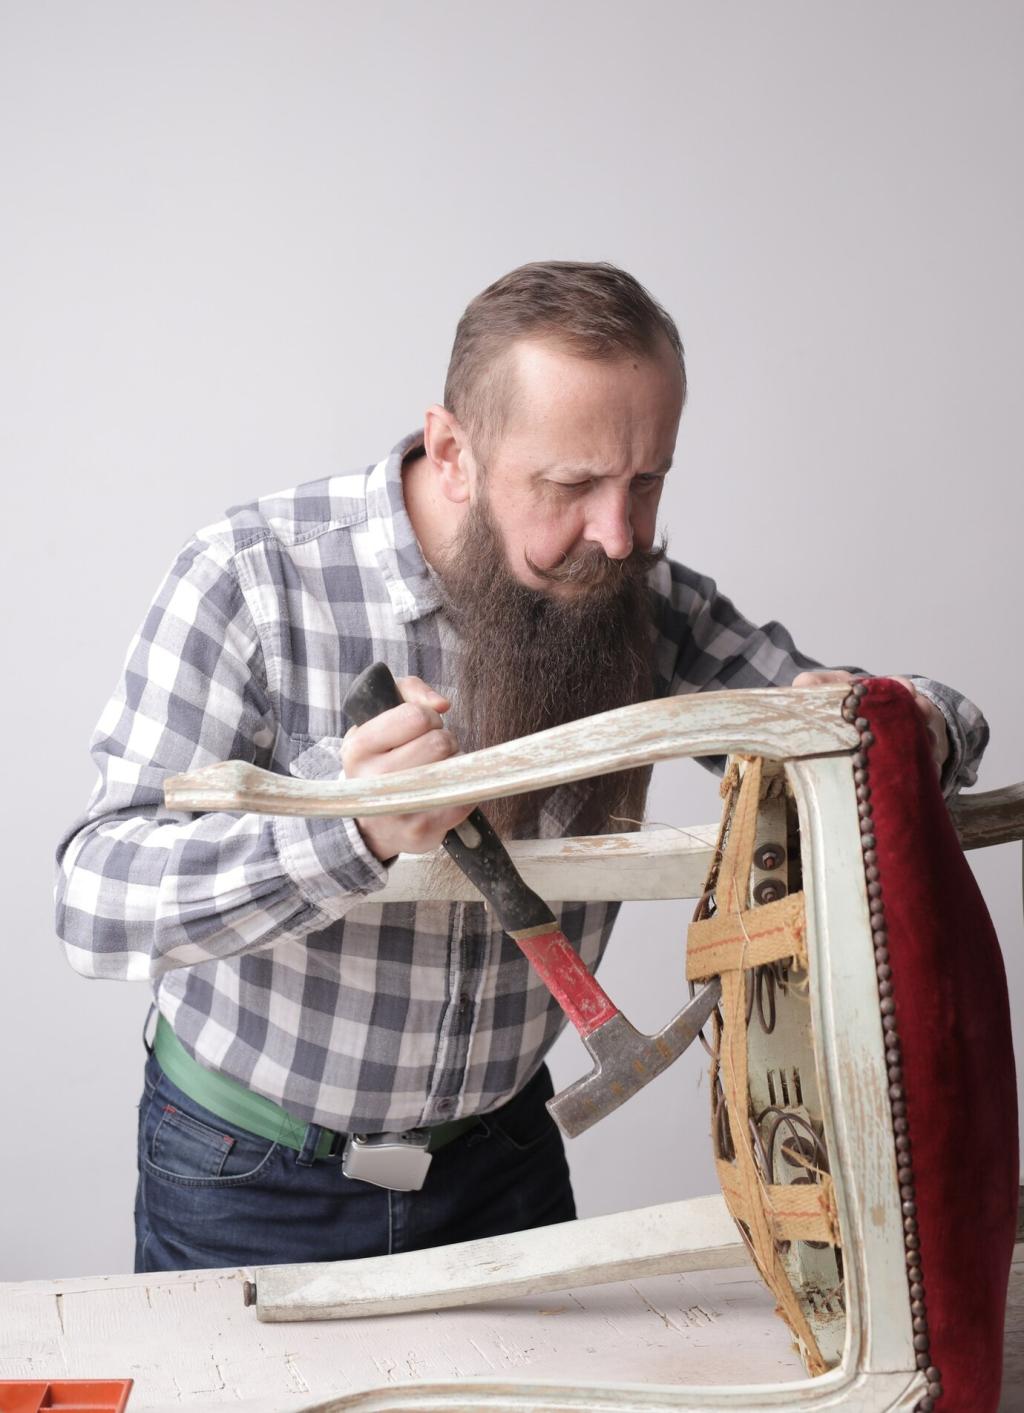
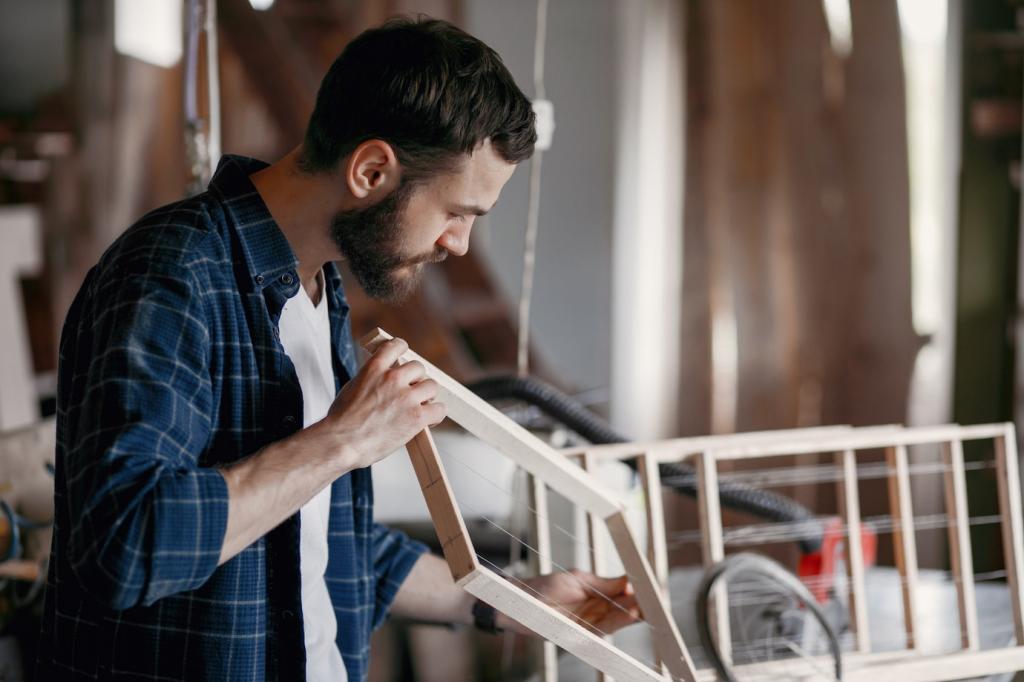
Repairs: Joints, Veneers, and Hardware
Hide glue reactivates with warmth and moisture, making future repairs possible. Heat granules in a water bath, brush into cleaned joints, clamp with padded cauls, and clean squeeze-out with warm water. That reversible bond saved my grandmother’s ladder-back chair. What heirloom of yours needs the same gentle fix?
Repairs: Joints, Veneers, and Hardware
Inject warm hide glue beneath lifted veneer with a syringe, protect surfaces with wax paper, and clamp using cauls shaped to the curve. For losses, patch with matching grain and thickness, then tint background with dyes and pigments. Share tricky grain-matching photos—we’ll brainstorm subtle blending strategies.
Repairs: Joints, Veneers, and Hardware
Clean brass gently with mild methods to avoid removing original lacquer or plating. Label and bag every screw; early threads can be fragile. Lubricate with beeswax, not oil. Reuse original hardware whenever possible. Subscribe for our period hardware guide and add your favorite restoration-safe cleaning tricks.
Finishing: Color, Sheen, and Patina Preservation
French Polishing for a Period-Correct Glow
Build delicate shellac layers using a rubbing pad charged with alcohol and a trace of oil, working in overlapping circles. Level lightly between sessions. Dewaxed shellac bonds beautifully and remains repairable. Practice on scrap first. Post your first attempts—we’ll cheer progress and troubleshoot ridges, streaking, and witness lines.
Waxing and Oiling Without Plastic Shine
Microcrystalline wax, applied thinly and buffed along the grain, delivers protection without entombing the surface. Polymerized oils add depth while remaining repair-friendly. Skip thick polyurethane films. My farmhouse table regained a soft luster after two wax coats. Vote in the comments: satin glow or mellow matte?
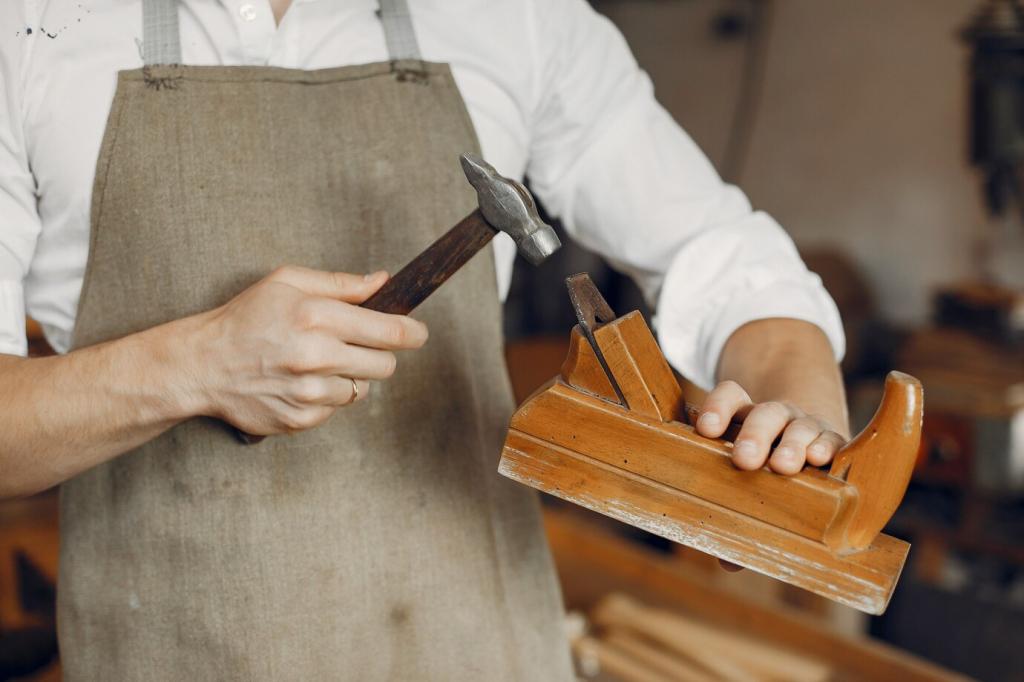
Tools, Workspace, and Safety for DIY Restorers
Essential Tools That Punch Above Their Weight
Card scrapers, padded clamps, cauls, a reliable glue pot, cabinet rasp, and a digital hygrometer solve most DIY tasks. Inner-tube strips become perfect gentle clamps. Share your must-have kit, and we’ll compile a community-sourced list for restoring antique wooden furniture with DIY methods.
A Small-Space Setup That Works
Use folding tables, silicone mats, and drop cloths for clean zones. Ensure cross-ventilation and a portable HEPA vacuum. Keep solvents in metal cans, tools on a rolling cart, and small parts in labeled bins. Post workspace photos—we love clever setups that turn corners into efficient restoration stations.
Safety Habits You’ll Be Glad You Kept
Wear eye protection, nitrile gloves, and a respirator when needed. Store rags soaked with oil in sealed metal containers to prevent fires. Label bottles, date mixed solutions, and plan dust control. Promise your future self: safety first. Comment with your best habit so newcomers learn confidently.
Documenting, Storytelling, and Community
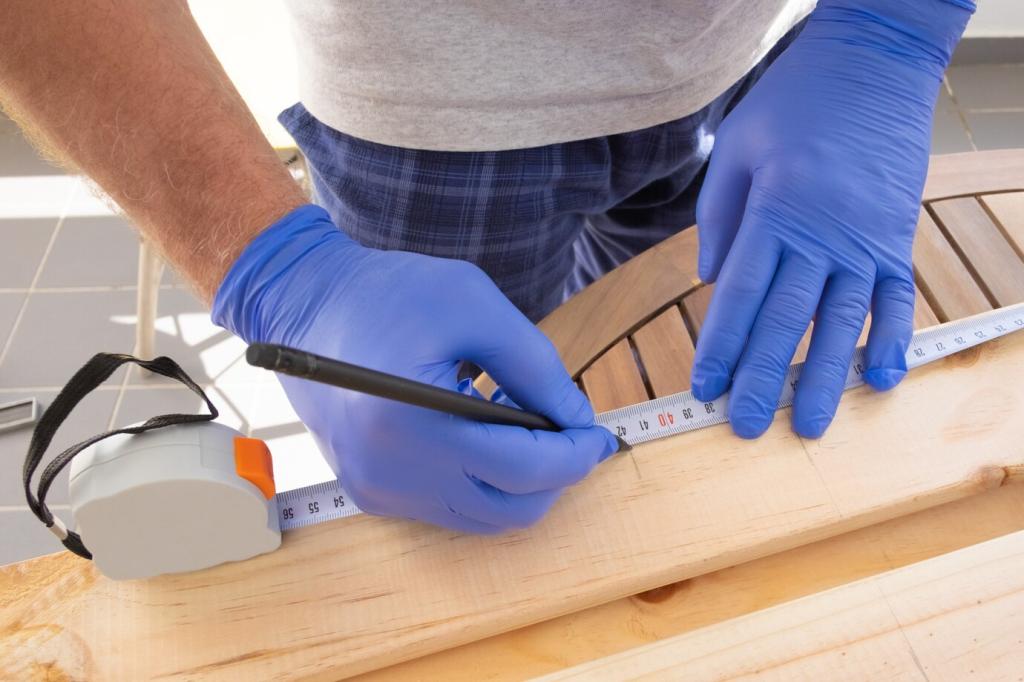
Use consistent lighting, a neutral backdrop, and a reference ruler for scale. Capture joints, hardware, and finish close-ups. Note camera settings and white balance. Back up to the cloud. Post your sequence in our comments to inspire fellow DIY restorers considering similar antique projects.