DIY Varnishing for Restored Furniture: Bring Old Wood Back to Life

Chosen theme: DIY Varnishing for Restored Furniture. Step into a hands-on journey where patience, skill, and the right finish transform rescued pieces into heirlooms. Subscribe and share your varnishing wins with fellow restorers.

Varnish Types and When to Use Them

Oil-Based vs. Water-Based Varnish

Oil-based varnish ambers beautifully and levels slowly, ideal for vintage tones; water-based dries fast and stays clear, perfect for maple or light woods. Which complements your restored piece best? Tell us your go-to and why.

Polyurethane, Alkyd, and Spar Varnish

Polyurethane excels at abrasion resistance on tabletops; alkyd warms tone and brushes elegantly; spar varnish flexes for humidity swings. Match the formula to your furniture’s daily challenges, then comment with your durability test results.

Choosing Sheen: Gloss, Semi-Gloss, Satin, Matte

Gloss amplifies grain but shows flaws; satin hides touch-ups and feels welcoming; matte looks soft and contemporary. Test panels reveal truth. Share photos of your sheen tests and help others choose confidently.

Surface Preparation that Guarantees a Smooth Finish

Old wax, oil, and polish sabotage adhesion. Use mineral spirits or a dedicated degreaser, then allow full evaporation. Tell us your favorite safe cleaners for antique woods and any surprises you uncovered under grime.

Application Techniques for Flawless Coats

Brush Mastery: Loading, Laying, and Tipping Off

Use a quality natural bristle for oil, synthetic for water-based. Load moderately, lay with the grain, then tip off lightly. Have a brush brand you swear by? Share it and your best anti-lap-mark routine.

Fixing Mistakes Without Panic

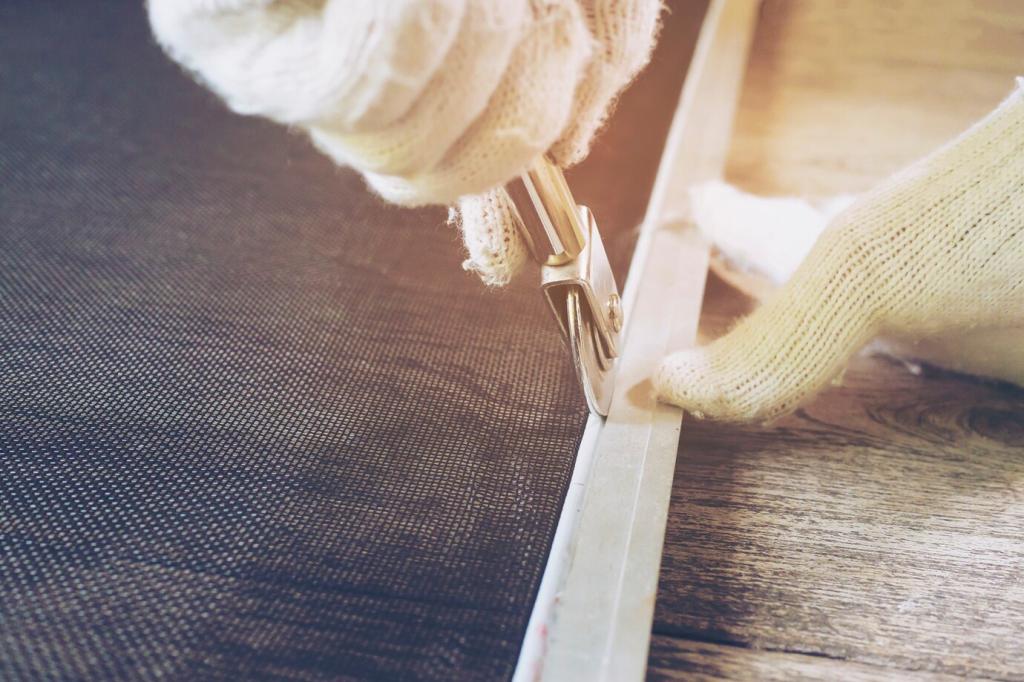
Let problem areas cure, then slice high spots with a razor held flat and sand level before recoating. What tools saved your last near-disaster? Share your before-and-after and encourage a fellow restorer today.

Fixing Mistakes Without Panic

Stir gently, avoid overbrushing, and use compatible solvents. If silicone contamination causes craters, clean aggressively and add a flow additive. Tell us which preventative steps finally ended bubbles in your workshop.

Rubbing Out, Sheen Control, and Final Touches

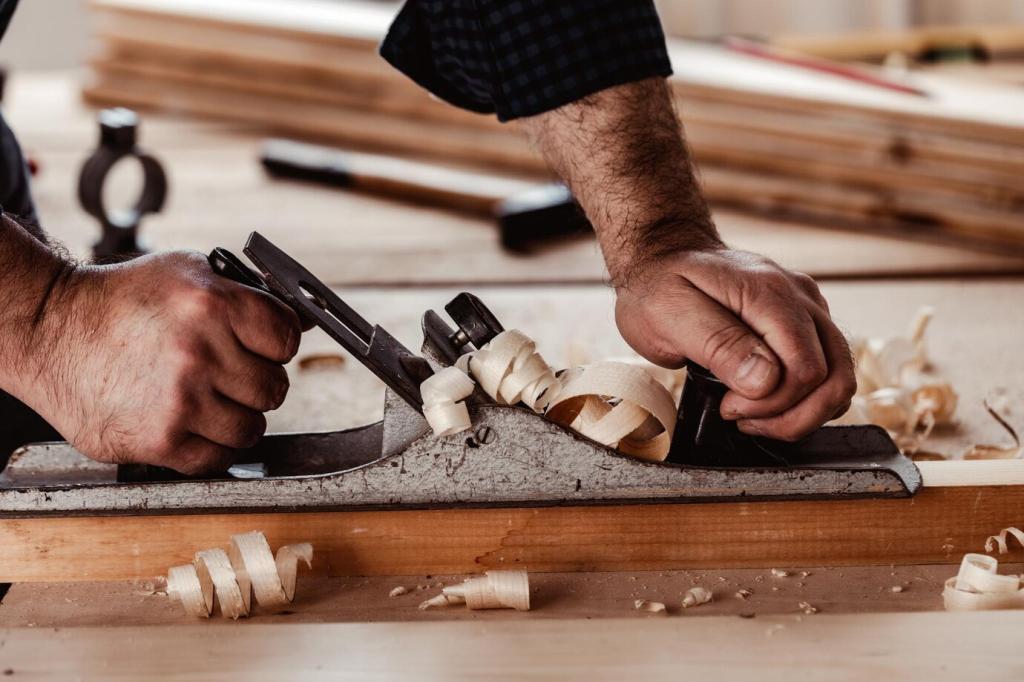
After full cure, wet sand through fine grits to level the film safely, keeping edges protected. Share your grit ladder and lubricant choice so others can replicate your silky, even surface.

Rubbing Out, Sheen Control, and Final Touches

Traditional rub-out blends sheen beautifully. Work gently with lubricants, then finish with a thin wax for hand-rubbed depth. Tell us whether you prefer satin warmth or piano-gloss brilliance after rub-out.
Theartofwilliamamoore
Privacy Overview

This website uses cookies so that we can provide you with the best user experience possible. Cookie information is stored in your browser and performs functions such as recognising you when you return to our website and helping our team to understand which sections of the website you find most interesting and useful.