Today’s theme: Repairing Wobbly Wooden Chairs. If a favorite chair sways, creaks, or feels unsure underfoot, this guide brings it back to steady comfort with clear, confidence-building steps. Share where your chair wobbles most, and subscribe for weekly fixes and practical inspiration.
Diagnose the Wobble Before You Glue
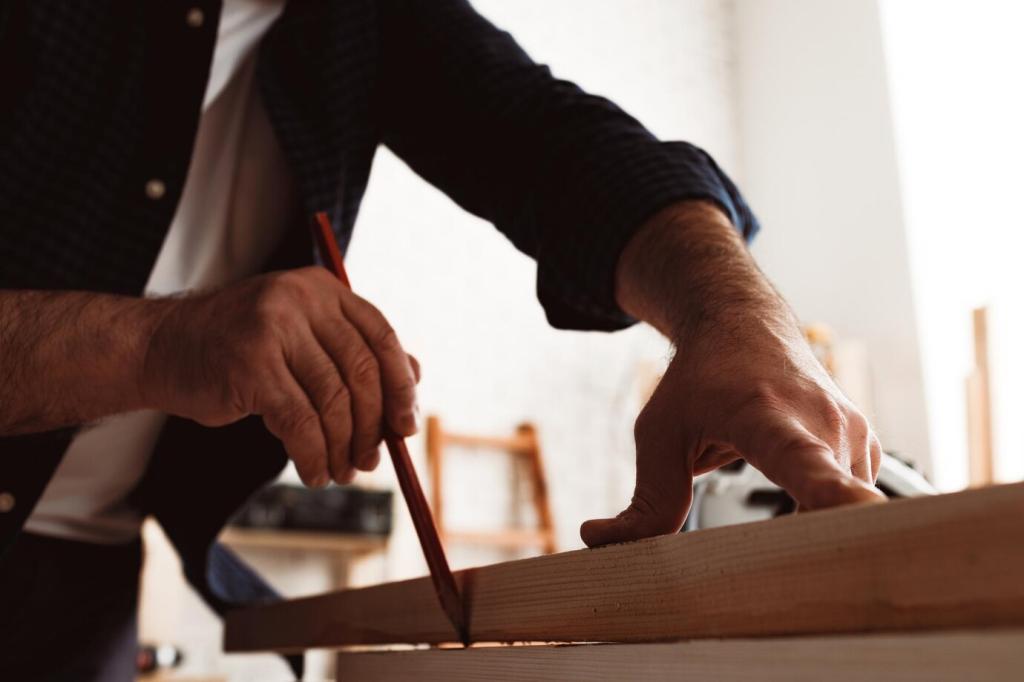
Place the chair on a truly flat surface and gently press opposite corners of the seat, listening for creaks and feeling for shift. Swap corners, then press straight down on each leg. This reveals which joint flexes, not just which leg looks uneven.
Tools and Materials That Make Stability Last
Choosing the right adhesive
Liquid hide glue offers excellent reversibility and sympathetic aging for antiques, while quality PVA provides strong bonds for everyday chairs. Avoid polyurethane foams that expand unpredictably. Match glue to the chair’s history, wood species, and your desire for future, repair-friendly maintenance.
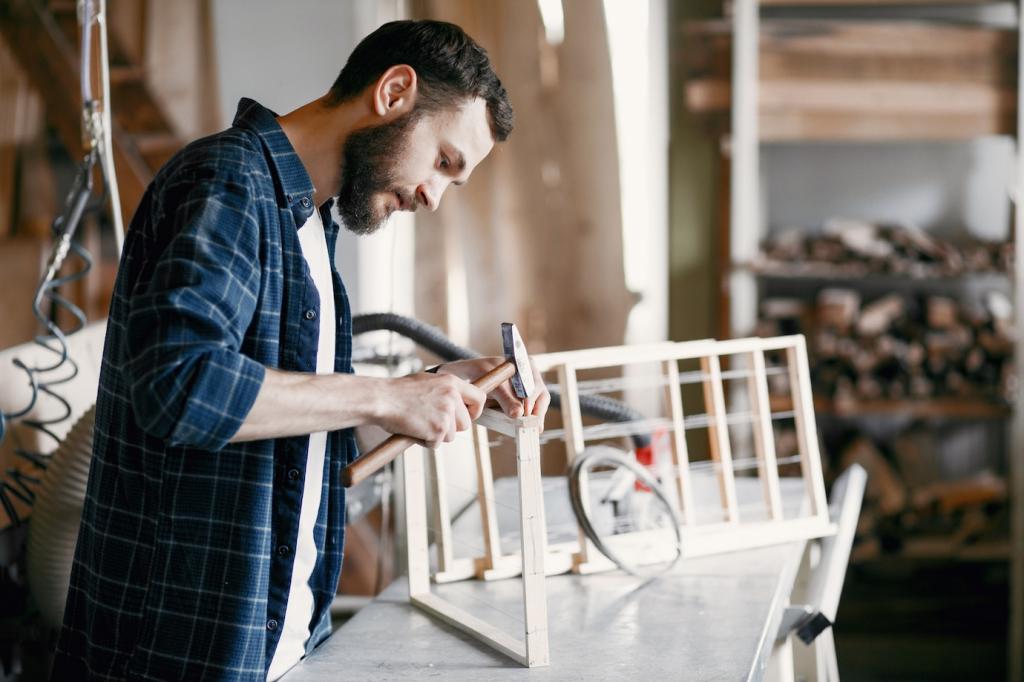
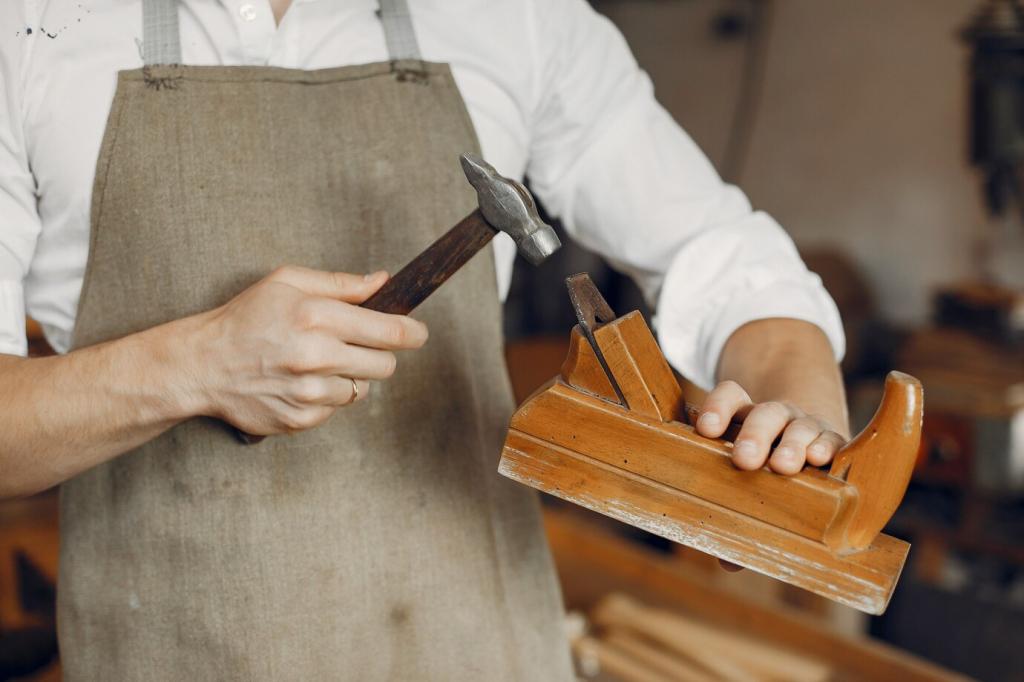
Bar clamps, web clamps, and softwood cauls distribute pressure without bruising edges. A rubber mallet seats joints gently, and painter’s tape prevents clamp slippage. Dry-fit first, then set clamps within easy reach so you’re never hunting for hardware with glue ticking away.
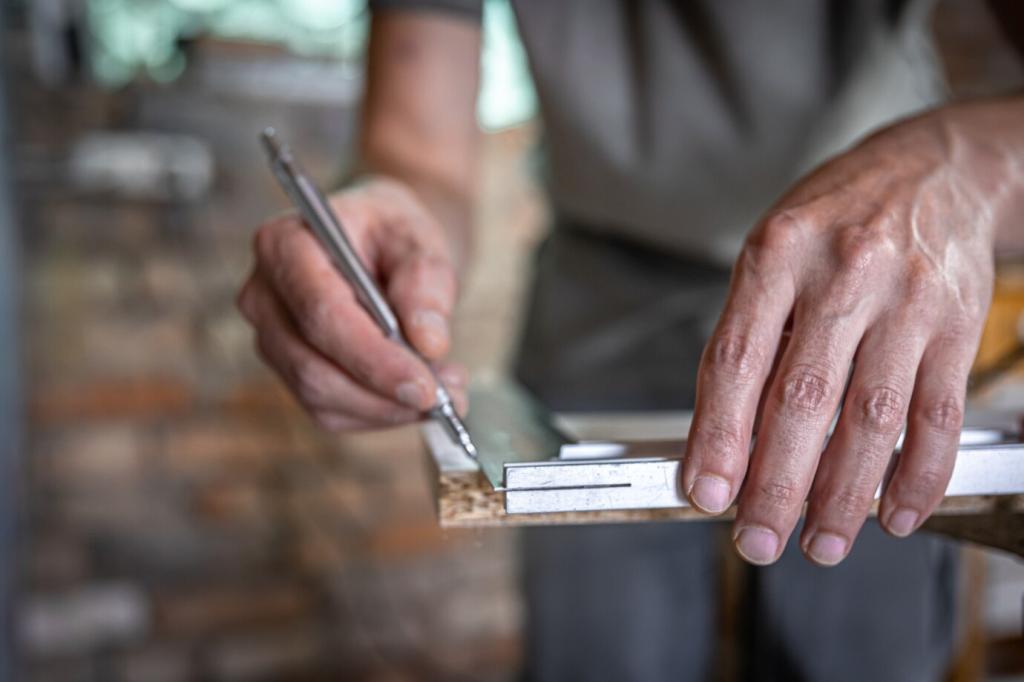
Label every joint with painter’s tape and arrows. Take photos during disassembly to track orientation. Keep cotton swabs, a damp rag for squeeze-out, and a small brush or syringe ready for precise glue application. Preparation turns a stressful scramble into calm, confident craftsmanship.
Support the joint, then use a rubber mallet with a soft block to nudge pieces apart. Never twist aggressively; it tears end grain. Warmth and a little denatured alcohol can soften old hide glue. Patience protects the wood so it can bond again beautifully.
Dry-fit first to ensure full seating. Apply a thin, even layer of glue to both surfaces, avoiding puddles that starve the bond. Clamp with just enough pressure to close gaps without squeezing out all adhesive. Check for square immediately, then recheck after five minutes.
Proven Repair Methods for Solid Joints
If dowels spin freely, cut new fluted dowels of matching diameter and appropriate length. Clean the holes thoroughly and avoid over-drilling. Orient flutes for consistent glue distribution. A snug, not forced, fit ensures strength without splitting, and future repairs remain entirely possible.
Reassembly, Clamping Strategy, and Squaring
Dry-fit like you mean it
Assemble everything without glue and measure diagonals of the seat frame; they should match. Sit the chair on a flat surface and check all feet contact. Adjust cauls and clamp positions now, while changes are easy, so the glued version goes smoothly and predictably.
Clamp in a controlled sequence
Start with the seat frame, then move to stretchers, and finally the back. Tighten gradually, alternating clamps to prevent racking. Use corner blocks or cauls to spread pressure. Keep a square and measuring tape handy to verify alignment as the glue begins to grab.
Wipe, wait, and verify
Wipe squeeze-out with a lightly damp cloth before it skins over. Recheck squareness after five to ten minutes. Allow full cure based on your adhesive—hide glue typically needs a day, PVA often longer under cool, humid conditions. Patience here prevents tomorrow’s wobbles.