Chosen theme: Easy Guides to Refinishing Wooden Tables. Discover approachable steps, friendly advice, and real stories that help you revive tired tabletops without stress. Subscribe and share your project goals to get custom guidance and encouragement.
Tighten the frame: wobble tests and joint checks
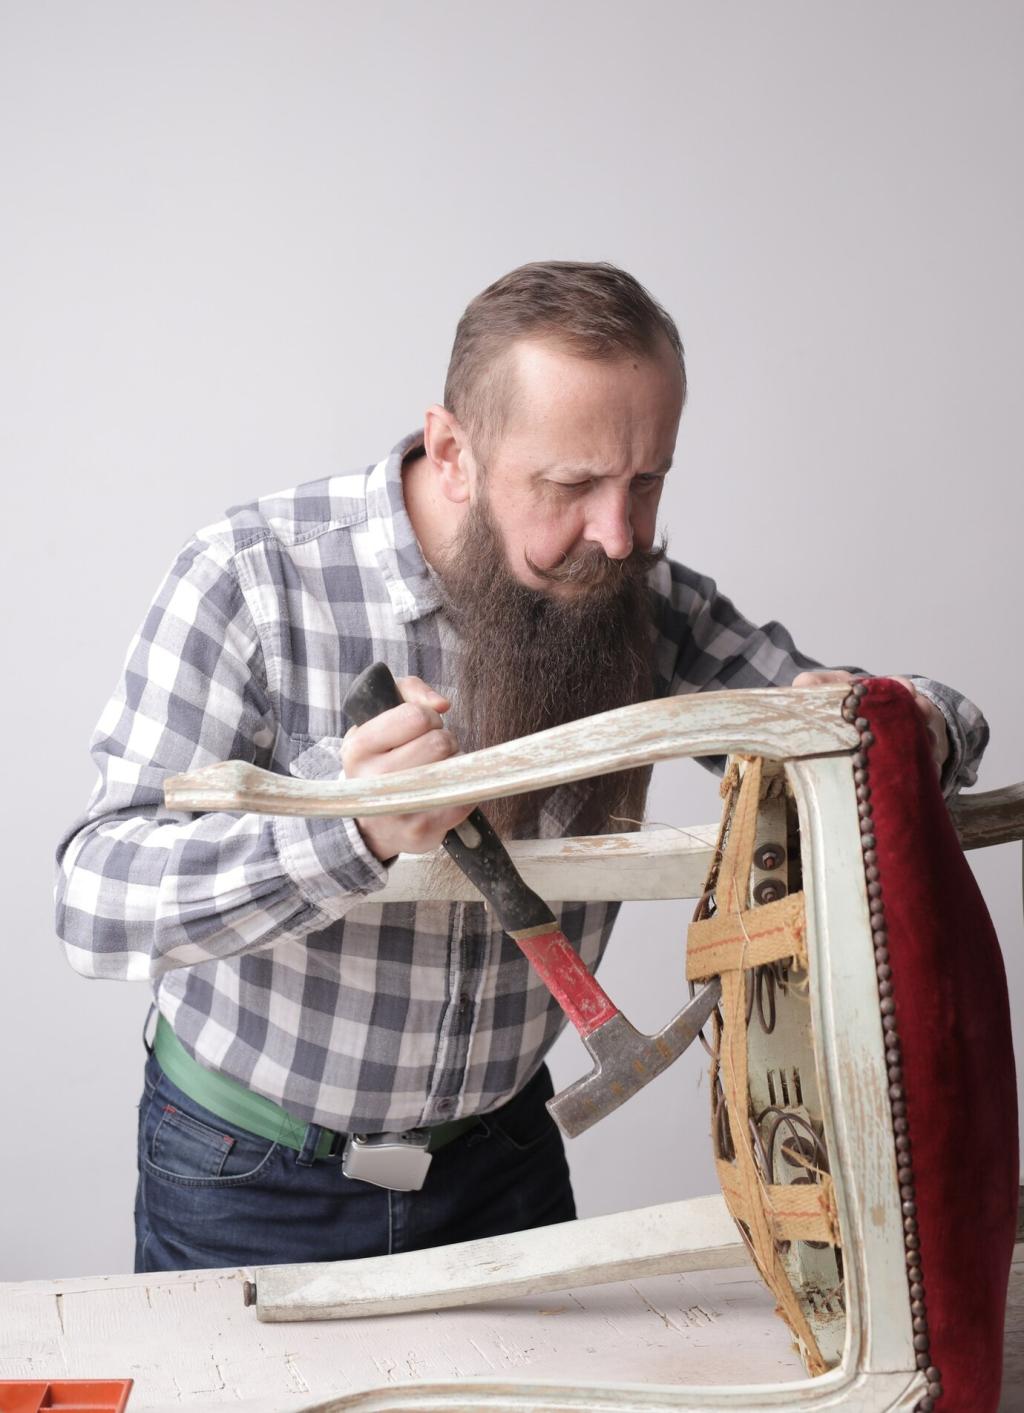
Place the table on a flat floor, press diagonally to find wobble, and examine mortise-and-tenon joints. Tighten hardware now; repairs are easier before finishes come off.
Look beneath the top and along edges for repeating grain or substrate layers. Veneer demands gentler sanding and careful heat during stripping to avoid bubbles and lifts.
Test a small underside area first. Citrus gel strippers minimize fumes, heat guns lift thick paint, and sanding alone works if finish is thin and uniform.
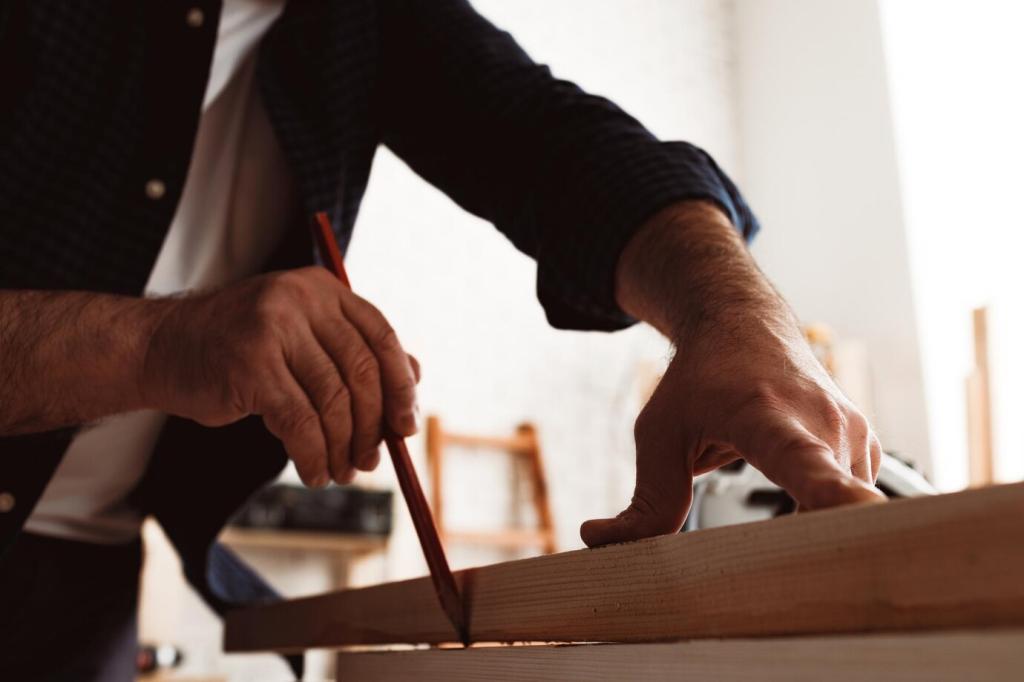
Begin with the lowest grit that removes finish lines without gouging, then step through medium to fine. Vacuum, tack, and inspect under raking light between passes.
Edges, aprons, and turned legs deserve patience
Switch to hand sanding blocks and flexible pads on curves. For beads and coves, wrap paper around a dowel, keeping strokes with the grain to avoid scratches.
Avoid swirls, burns, and uneven spots
Keep the sander moving, clean pads frequently, and avoid pressing down. Mark the surface lightly with pencil; sand until marks disappear evenly, signaling uniform removal and flatness.
Apply chosen stain under the apron or on a leaf’s underside. Wood darkens with age; samples reveal surprises and prevent dramatic mismatches across boards.
Oil, polyurethane, shellac, and hardwax—what fits your table?
Wiping oil enriches grain and is easy to renew. Polyurethane excels at spill resistance. Shellac offers vintage warmth. Hardwax oils balance feel, repairability, and everyday durability.
Application methods that reduce streaks and dust
Strain finishes, thin when appropriate, and apply in thin, even coats. Tip off with light strokes, maintain airflow, and cover overnight with a dust tent.
Cure times, patience, and gentle first weeks
Dry-to-touch is not cured. Allow full chemical or oxidative cure before heavy use. Use coasters, lift rather than slide, and invite feedback on your experience.
Repairs, Flaws, and Character: Finishing Touches
For structural gaps, use wood epoxy and color-match with tints. For veneer, feather edges, glue with cauls, and sand carefully to protect remaining thickness.
Repairs, Flaws, and Character: Finishing Touches
Try a white non-gel toothpaste and baking soda rub on old shellac haze. For newer finishes, gentle heat and patience often coax moisture back out.
Repairs, Flaws, and Character: Finishing Touches
Add felt under chairs and trivets for hot dishes. Wipe spills quickly, refresh oil annually, and post your maintenance habits—others will learn from your rhythms.